Neural Networks in Python with Keras and TensorFlow
Published: 2018-12-16
By: MJ Rossetti
Category:
Technologies:
Published: 2018-12-16
By: MJ Rossetti
In the advent of distributed computing and GPUs and the release of TensorFlow, machine learning and deep learning solutions are becoming more accessible to the ordinary developer.
With the help of some tutorials on Lynda.com, I set off to learn how to create a neural network of my own using a Python package called Keras. Keras provides a high-level interface which makes it easy to build, train, test, and use neural networks.
from keras.models import Sequential
from keras.layers import Dense

model = Sequential()
model.add( Dense(512, activation="relu", input_shape=(784,)) ) # 784 pixel flattened image
model.add( Dense(512, activation="relu") )
model.add( Dense(10, activation="softmax") ) # softmax for classification (digits 0-9)
model.compile(optimizer="adam", loss="categorical_crossentropy", metrics=["accuracy"]) # categorical_crossentropy (b/c output into 10 categories)
model.summary()
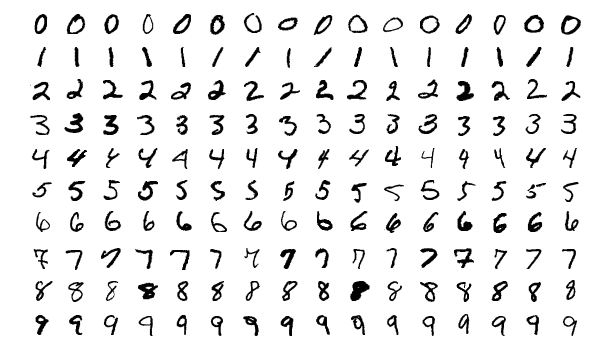
In addition to providing model creation abilities, Keras also provides example datasets, like the MNIST database of hand-written numbers, which I used for my first model. The goal of this model was to process any image from the dataset and predict which digit (0-9) the image represents.
Keras provides an easy way to load this dataset, and split it into different batches for training and testing purposes, respectively.
from keras.datasets import mnist

(x_train, y_train), (x_test, y_test) = mnist.load_data()
While developing the model, I learned how important it is to pre-process the data into a format the model expects. For this specific MNIST use case, each input image represents a grid of pixels, each with its own grayscale value from 0 to 255. We need to re-scale these values so they fall between 0 and 1 (the model’s preferred input range), and we need to flatten each input from a two-dimensional grid into a one-dimensional list. Finally, we need to separate the output values into categories representing each of the ten possible outcomes (digits from zero to nine).
# flatten each 28x28 pixel grid into a single layer
h, w = 28, 28
x_train = x_train.reshape(60000, h * w) #> 6000 entries of 784 size items
x_test = x_test.reshape(10000, h * w) #> 10000 entries of 784 size items

# re-scale numbers from between 0 and 255 to between 0 and 1
x_train = x_train.astype("float32")
x_test = x_test.astype("float32")
x_train = x_train / 255.0
x_test = x_test / 255.0

# separate each output number into one of ten bins (digits 0-9)
from keras.utils.np_utils import to_categorical
y_train = to_categorical(y_train, 10)
y_test = to_categorical(y_test, 10)
After preparing the data, we are ready to use it to train the model.
history = model.fit(x_train, y_train, epochs=3, verbose=1, validation_data=(x_test, y_test) )
#
#> Train on 60000 samples, validate on 10000 samples
#> Epoch 1/3
#> 60000/60000 [==============================] - 20s 339us/step - loss: 0.1825 - acc: 0.9446 - val_loss: 0.1481 - val_acc: 0.9527
#> Epoch 2/3
#> 60000/60000 [==============================] - 20s 328us/step - loss: 0.0805 - acc: 0.9752 - val_loss: 0.0788 - val_acc: 0.9758
#> Epoch 3/3
#> 60000/60000 [==============================] - 20s 333us/step - loss: 0.0564 - acc: 0.9819 - val_loss: 0.1045 - val_acc: 0.9672
#
After training the model, Keras provides a way to evaluate its accuracy against the entire test dataset.
score = model.evaluate(x_test, y_test)
#> [0.1044726008746773, 0.9672]
This simple model acheives a prediction accuracy of over 96%. Once satisfied with the performance of the trained model, we can use it to predict the classification of any given image.
test_img = x_test[37] #> (784,)
test_img.reshape((1,784)) #> (1, 784)
prediction = model.predict_classes(test_img)
predicted_value = prediction[0] #> the number 6!
There are many other use cases for machine learning models besides classifying handwritten digits, and I’m excited to explore them further.